
Most electric bike flats are not random. The pattern of the damage usually points to the cause. This guide shows you how to prevent common punctures, diagnose a tire that keeps losing air, compare protection options, and prepare for a roadside repair.

Why Does My E-Bike Tire Keep Going Flat?
If a tire keeps going flat, replacing the tube without finding the source often repeats the problem. Treat the damaged tube as evidence.
Use the “clock-face” method

- Before removing the tire, mark the tire at the valve position.
- Remove the tube while keeping its orientation.
- Inflate the tube slightly and locate the leak with water or soapy water.
- Compare the leak location with the matching area of the tire and rim.
- Inspect that exact zone for glass, wire, thorns, casing damage, spoke holes, or sharp edges.
Dry the tube, tire, rim, and nearby components after testing. Keep water and cleaning solution away from the battery contacts, motor connectors, display, controls, and other electrical components.
Run a cloth or cotton ball gently along the inside of the tire instead of using bare fingers. Fine wire or glass can be difficult to see and can cut skin.
Seven Causes to Check After a Repeat Flat
- Embedded debris: a tiny wire remains in the casing and punctures every replacement tube.
- Damaged or shifted rim tape: the tube contacts spoke holes or a sharp rim surface.
- Tube pinched during installation: part of the tube is trapped under the tire bead.
- Wrong tube size: an overstretched, folded, or oversized tube is easier to damage.
- Valve stress: the valve stem is pulled sideways or the retaining nut is overtightened.
- Underinflation: the tire bottoms out against the rim during impacts.
- Worn casing or sidewall: cuts, exposed threads, dry cracking, or bead damage make repair unreliable.
Why Electric Bike Tires Go Flat

An electric bike flat tire can come from a sharp object, but punctures are only one category. Pressure, installation, wheel condition, tire wear, rider load, cargo, and route choice all matter.
E-bikes also create practical complications. Many e-bikes place more total load on their tires than a comparable non-electric bicycle because of the battery, motor, frame, rider, and cargo. Many use wide tires, carry cargo, or place a hub motor in one wheel. When a rear tire goes flat, removing the wheel may require an axle wrench, careful motor-cable handling, and correct washer placement during reassembly.
| Flat type | Typical clue | Likely cause | Best next step |
|---|---|---|---|
| Small hole on the tread-facing side of the tube | Glass, wire, thorn, or staple may remain in tread | Penetration puncture | Move to a safe location, prepare for repair or transport, then remove the object and inspect the full tire casing |
| Two parallel cuts | Often follows a curb, pothole, or hard edge impact | Pinch flat from pressure/load/impact | Check pressure, rim condition, load, and riding line |
| Hole on rim-facing side | Damage aligns with spoke hole or sharp rim edge | Rim tape or rim problem | Repair the rim issue before installing another tube |
| Leak near valve base | Valve sits at an angle or tears from movement | Tube movement, low pressure, or installation stress | Replace tube and correct installation/pressure |
| Slow loss with no obvious hole | Pressure drops over days | Valve core, tiny puncture, porous tube, bead or tubeless leak | Use soapy water and inspect valve, tread, sidewall, and bead |
| Repeated same-location flat | New tube fails in nearly the same place | Embedded debris or unresolved rim/tire defect | Map the tube hole back to the wheel before replacing parts |
How to Prevent Flat Tires on an Electric Bike: 9 Steps

1. Check tire pressure regularly
Pressure is the first defense against pinch flats and poor handling. Use a gauge rather than squeezing the tire by hand. Follow the tire sidewall and bike manual, then adjust within the approved range for rider weight, cargo, tire width, surface, and comfort.
Very low pressure can allow the rim to strike the tube. Excessive pressure can reduce compliance and traction, and it cannot guarantee puncture protection.
2. Inspect tread and sidewalls before problems grow
Rotate each wheel and look for glass, metal wire, thorns, cuts, bulges, exposed casing threads, and bead damage. Surface debris that has not entered the casing can be removed carefully. If an object may have penetrated the tire, move to a safe location and prepare for a pressure check, repair, or transport before removing it, because the object may be temporarily slowing the leak.
3. Replace worn tires before the casing fails
Do not judge a tire only by remaining tread depth. Replace it when the casing is cracked, cut, deformed, separating, or showing internal threads. A tire with structural damage is not restored by adding more sealant.
4. Keep the tube, rim tape, and tire size compatible
The tire, tube, and rim must match. A tube that is too small may stretch excessively. One that is too large may fold. Rim tape should cover spoke holes without bunching or exposing sharp edges.
5. Install tubes without twists or pinches
Add just enough air for the tube to hold its shape. Seat it evenly inside the tire. Work the bead onto the rim carefully, and check both sides before inflation. After partial inflation, inspect the bead line around the entire wheel.
6. Choose a cleaner riding line
Road edges and gutters collect glass, wire, screws, and sharp debris. When traffic laws and conditions allow, use a predictable line that avoids debris zones, broken pavement, and pothole edges. Slow down when you cannot safely change line.
7. Match pressure and tires to rider plus cargo load
Consider total system load, not rider weight alone. Batteries, racks, bags, locks, trailers, and cargo add stress. Stay within the bike, wheel, rack, and tire limits. Heavier loads may require a different pressure within the approved range or a tire with a more suitable casing.
8. Inspect after hard impacts
After hitting a pothole, curb, rock, or sharp edge, stop in a safe place. Check pressure, sidewall shape, rim damage, bead seating, and handling. A delayed flat may appear after the initial impact.
9. Carry a repair plan, not just random tools
Confirm which axle tools, security keys, tire levers, pump head, tube size, and motor-cable procedures your bike requires. Test the pump, tube, and tools at home. Practice wheel removal only when the model manual permits it and you understand the axle hardware, brake setup, motor connector, washer placement, and cable routing. Otherwise, ask a qualified bike shop to demonstrate the procedure or plan for roadside transport.
Flat Tire Protection for Electric Bikes: Which Option Fits Your Setup?
Flat tire protection for electric bikes usually starts with correct tire pressure and regular inspection, then adds a compatible protection method when needed. Options include puncture-resistant tires, tire liners, tube sealant, inserts, or a tubeless setup. The right choice depends on what is causing your flats because no single system protects equally well against tread punctures, pinch flats, sidewall cuts, valve failures, and rim-related damage.

No system makes a bicycle tire completely immune to flats. The best choice depends on tire construction, rim compatibility, riding surface, wheel-removal difficulty, maintenance tolerance, and the type of puncture you are trying to prevent.
| Option | Best for | Advantages | Limits and tradeoffs |
|---|---|---|---|
| Puncture-resistant tire | Daily commuting, mixed pavement, riders replacing worn stock tires | Built-in protection with no separate insert to position | Heavier or stiffer models may change ride feel; sidewall cuts are still possible |
| Tire liner | Tread-area thorns, glass, and wire | Adds a physical layer between tread and tube | Incorrect sizing or overlap can chafe a tube; does not protect every sidewall area |
| Tube sealant | Some small punctures in compatible tubes | May seal a small hole without wheel removal | Requires compatibility and periodic checking; cannot repair large cuts, torn valves, or rim damage |
| Tube insert / armor | Riders prioritizing added impact or puncture protection | Can add a thicker barrier against some tread impacts or punctures, depending on the product and installation | Adds weight, cost, and installation complexity. Do not assume it is safe to ride on a flat unless the specific product manufacturer expressly allows it for your tire, rim, load, and riding conditions. |
| Tubeless system | Compatible rims and tires; riders willing to maintain sealant | Can seal many small tread punctures and eliminates pinch flats caused by an inner tube | Not every e-bike wheel is compatible; bead leaks, sidewall cuts, and maintenance remain |
| Spare tube and roadside kit | Every tube-type e-bike rider | Practical repair option when the wheel can be serviced safely with the tools and skills available | Rear hub-motor wheel removal may be difficult without practice and correct tools |
Choose Protection Based on the Failure You Actually Have
- Correct pressure, fit, rim tape, and installation.
- Replace worn or unsuitable tires.
- Identify your dominant hazard: thorns, glass, potholes, sidewall cuts, or repeated rim-side damage.
- Add the simplest compatible protection that targets that hazard.
- Keep a repair fallback because no protection method covers every failure.
Why a Rear E-Bike Flat Can Be Harder to Repair

A rear flat can be especially difficult when the wheel contains a hub motor. The wheel may use axle nuts, anti-rotation washers, a motor cable, electrical connectors, model-specific cable routing, and hardware that must be reinstalled in the correct order and tightened to the manufacturer’s specification.
Before removing a hub-motor wheel
- Turn the bike off and remove the battery when the manufacturer instructs you to do so.
- Photograph washer positions, cable routing, and connector orientation.
- Disconnect the motor cable by the connector body, not by pulling the wire.
- Do not cut permanent wiring or improvise around damaged connectors.
- Support the bike without resting it on the display, controls, brake components, or wiring.
- Follow the model-specific manual for axle-nut torque and washer placement.
If you are unsure about electrical connectors, torque arms, internal-gear hubs, belt drives, or wheel alignment, use a qualified bike shop. A roadside tube replacement is not worth damaging a motor cable or reinstalling a wheel incorrectly.
After any rear-wheel service, do not ride until the wheel is centered and fully seated, the brake operates normally, the motor cable is secured away from moving parts, and every model-specific washer, torque arm, fastener, and connector has been reinstalled correctly.
Electric Bike Flat Tire Repair Kit Checklist

- Correct-size spare tube
- Patch kit for backup
- Compact pump or inflator
- Pressure gauge
- Tire levers compatible with your rim
- Correct axle wrench or tool
- Tool for security hardware, if fitted
- Gloves and a small cloth
- Valve adapter, if your pump needs one
- Temporary tire boot for a minor tread-area casing cut, only as directed by the boot manufacturer; not for sidewall, bead, bulge, or rim damage
- Charged phone and a pickup, rideshare, transit, or roadside-assistance plan
- Model-specific wheel-removal notes
When not to continue riding
Stop riding when the tire is flat, the bead is unseated, the sidewall is cut or bulging, the rim is visibly damaged, the wheel is misaligned, or the motor cable is strained. Walking or arranging transport is cheaper than replacing a damaged wheel or losing control.
What to Check When Choosing an E-Bike Tire Setup
Flat prevention begins before the first ride. When comparing an e-bike, look beyond tire width and tread appearance. Ask about:
- Tire and tube size availability
- Whether the casing includes an added puncture-resistant layer
- Whether the rim and tire are tubeless-compatible
- How the rear wheel and motor cable are removed
- Whether replacement tires, tubes, rim tape, and wheel parts are available
- How total rider and cargo load affects the recommended setup
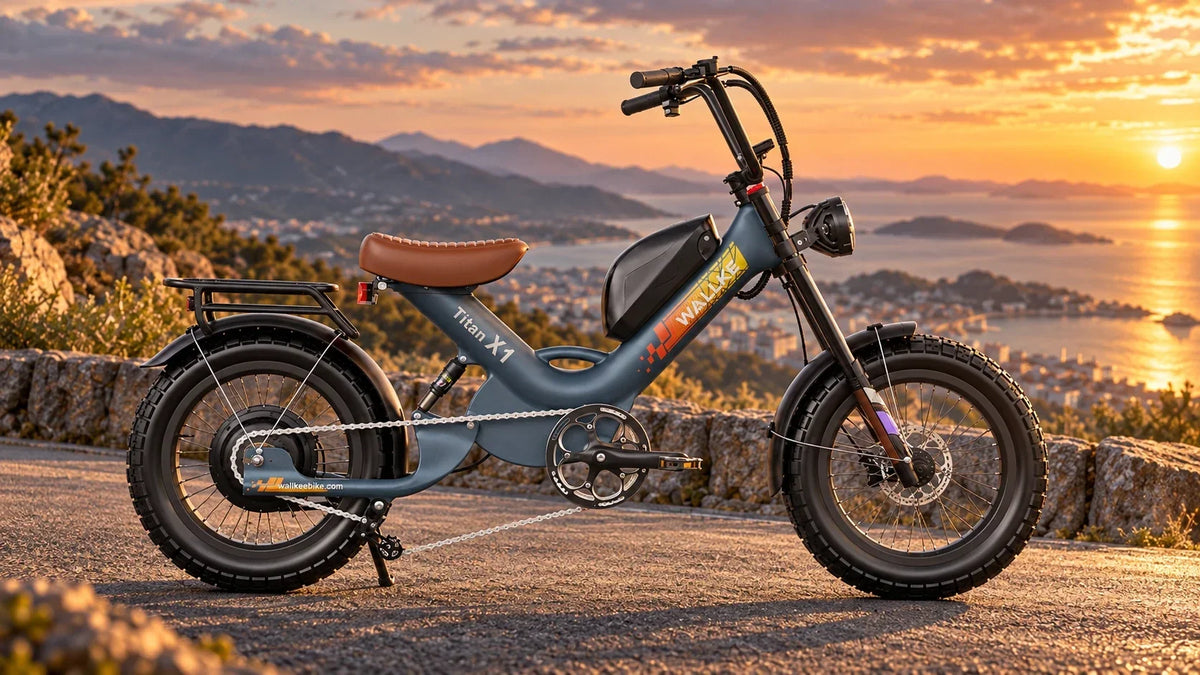
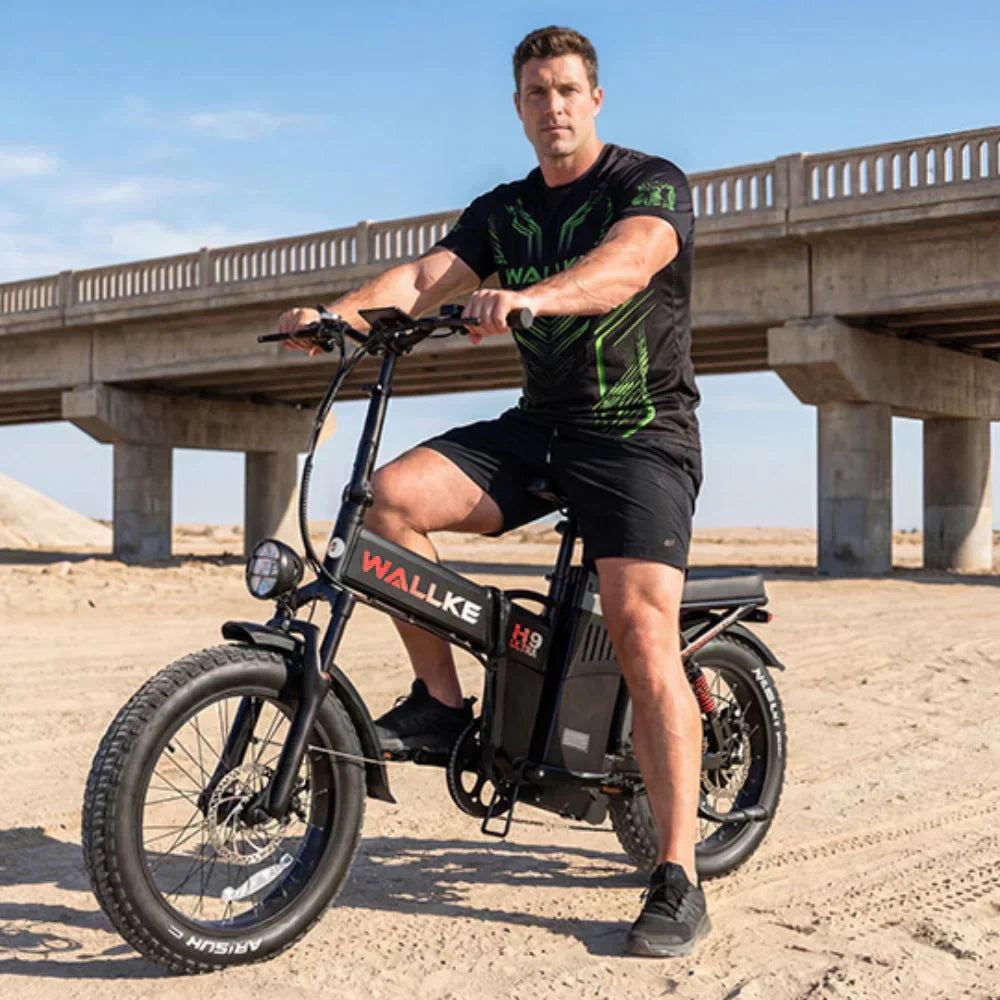
For example, several current Wallke fat-tire models use 20 × 4-inch or 20 × 5-inch tires with an added puncture-resistant structure. That can reduce some tread-area risks, but it does not replace pressure checks, tread inspections, correct installation, or a repair kit.
Readers comparing wide-tire setups can explore the Wallke fat tire e-bike collection. Replacement and maintenance components are available through the Wallke e-bike parts collection. Always confirm part compatibility with the exact model and production year before ordering.
Common Flat-Tire Prevention Mistakes
- Calling any tire “puncture-proof.” Even reinforced tires can be cut, pinched, or damaged at the sidewall.
- Adding sealant without finding the leak. Sealant cannot correct a torn valve, exposed spoke hole, damaged rim, or large casing cut.
- Exceeding the approved pressure range. Higher pressure is not a safe substitute for sound tire condition, correct installation, or suitable puncture protection. Stay within the tire sidewall and bike manufacturer guidance.
- Installing a liner with a harsh overlap. A poorly fitted liner can become the source of tube wear.
- Assuming every rim is tubeless-ready. A conversion requires compatible components and correct installation.
- Waiting until a trip to test your tools. Test your pump, spare tube, tire levers, and axle tools at home. Practice wheel removal only when the model manual permits it and you understand the wheel hardware, brake setup, and motor-cable procedure.
Frequently Asked Questions
Do electric bikes get more flat tires than regular bikes?
Not automatically. E-bikes may place more load on their tires because they are heavier and often travel farther or faster, but flats still usually come from familiar causes: incorrect pressure, debris, worn tread, pinched tubes, rim-tape problems, damaged valves, or poor installation.
Why does my e-bike tire keep going flat?
A repeat flat usually means the original cause was not removed. Check the tire casing for embedded glass or wire, match the hole location to the tire and rim, inspect rim tape and spoke holes, examine the valve base, and confirm the tube is not twisted or pinched.
Can I ride an electric bike with a flat tire?
You should stop as soon as it is safe. Riding on a flat can damage the tire, tube, rim, motor cable area, and wheel components, and it can reduce steering and braking control.
What tire pressure should I use on an e-bike?
Use the pressure range printed on the tire sidewall and the bike manufacturer's guidance. Adjust within that range for rider weight, cargo, tire width, surface, and handling. Do not copy a single PSI number from another rider with a different setup.
Are tire liners or sealant better for e-bikes?
They address different risks. Liners add a physical barrier against tread-area punctures. Sealant may close some small punctures after they occur. Either can be useful, but neither fixes poor pressure, sidewall cuts, damaged rim tape, or incorrect installation.
Should I convert my e-bike to tubeless tires?
Only if the rim and tire are tubeless-compatible and the conversion is performed correctly. Tubeless systems can seal many small tread punctures, but they still require sealant maintenance and may not stop larger cuts or bead damage.
Can I put tire sealant in an e-bike inner tube?
Some inner tubes can use a compatible tube sealant, but compatibility depends on the tube material, valve type, tire size, and sealant instructions. Sealant may close some small tread-area punctures, but it will not repair a torn valve, large cut, damaged sidewall, exposed spoke hole, unseated bead, or damaged rim. Follow the tube and sealant manufacturers’ instructions.
What should I carry in an e-bike flat tire repair kit?
Carry tools that match your bike: a compatible spare tube, pump or inflator, tire levers, patches, the correct axle tool, any security-key tool, gloves, and a way to manage the motor cable safely. Practice the procedure at home before depending on the kit.
Five-Minute Pre-Ride Flat Prevention Check

- Measure pressure with a gauge.
- Spin both wheels and scan the tread.
- Check sidewalls and bead seating.
- Confirm that both wheels are seated normally, rotate freely, and show no new looseness, rubbing, or misalignment.
- Pack the correct tube, pump, and axle tools for longer rides.
Bottom line: Start with correct pressure, sound tires, intact rim tape, and proper installation. Add protection only for the hazards you actually encounter, and carry a repair or transport plan because no tire, liner, sealant, or tubeless system prevents every flat.

Leave a comment